
Techniques
Why does my embroidery keep puckering?
Puckering is the fabric pulling into the stitches. A hoop that is too tight, the wrong stabilizer, a dense fill, missing underlay, a stretch knit, or a design bigger than the stable area will each do it, and each one has a check you can run before you sew the order again.
A puckered logo makes a good shirt look damaged. The stitches lie flat and the knit around them ripples, so a hand dragged across the chest catches on every wave. Customers blame the thread, the wash, or the shop, and they are half right about the shop. The thread did not invent the pull. Something in the hoop, the backing, or the stitch plan asked the fabric to hold a shape it cannot keep once the hoop comes off.
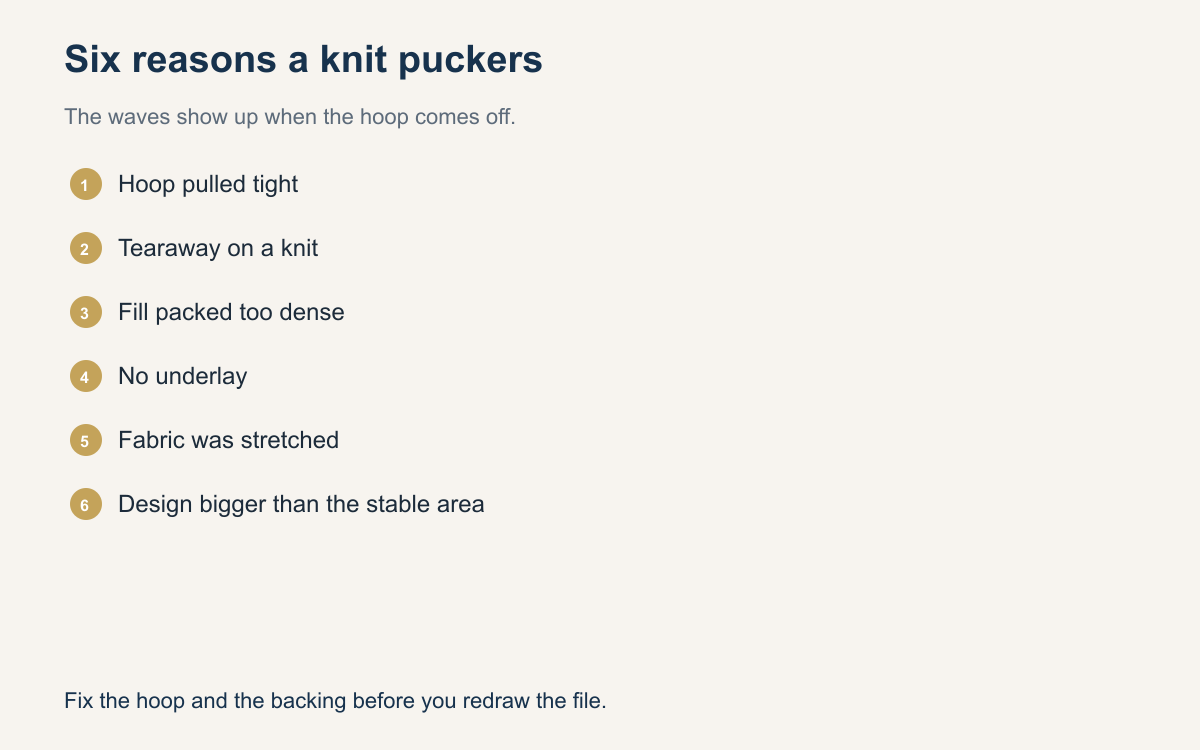
You can lose an hour turning the tension knob and still ship the same waves. Tension can make a pucker worse, but on a knit it is rarely the first cause. Walk the six causes below on the blank you are actually sewing, in this order. Most puckered jobs fail two of them at once. Fix the hoop and the backing before you redraw the file, or you will digitize a problem that was never in the design.
The hoop is pulled too tight
The hoop is there to hold the fabric still. It is not there to turn the shirt into a drum. When you pull a polo or a tee until the weave looks tight and shiny, you store stretch inside the ring. The machine sews that stretched shape. When you unhoop, the fabric goes back to the size it was. The stitches do not shrink with it, so they gather the knit into ripples around the design.
You can see this before you sew a stitch. The fabric inside the hoop should look like the fabric on the table, only held. Ribs should not be pulled open, and a stripe should stay the same width inside the ring. If you have to tug the hoop closed, re-hoop the shirt flat instead of yanking the cloth.
The stabilizer is wrong
Tearaway under a knit is a common puckering setup. It supports the fabric while the hoop is closed, then it tears out or splits, and the knit has nothing left to share the stress. The stitches pull the shirt. A cutaway stays with the garment and spreads that pull across a wider area. If the waves start at the edge of the design and the backing on the table is tearaway, change the backing before you change the file.
Weight is the other mismatch. A light cutaway under a big fill lets the knit creep. A heavy cutaway on a thin tee boards the shirt, and the fabric puckers at the edge of the block. Use a real cutaway on performance knits and a no-show mesh cutaway on light tees. If you are guessing, sew both on scrap and keep the one that lies flat after you tug it.
The fill is too dense
A fill packed stitch against stitch has nowhere to go when the fabric relaxes. Every needle hole is a perforation. On a knit those holes line up and the fabric collapses into the design. You will see a halo of puckers just outside the fill, and the fill itself will feel like a patch sewn onto the shirt. Flip the garment. A brick of thread on the back is the same problem viewed from the bobbin side.
Pull density down until the fabric still feels like fabric. Cover the color with underlay and a stitch angle that sits across the ribs. A fill that looks smooth on a jacket can crater a cap and pucker a polo. Sew a small square on the same goods. If the square cups after you unhoop, the fill is too heavy for that fabric.
There is no underlay
Underlay is the stitching the mockup never shows and the sew-out always reveals when it is missing. A center run or a zigzag under a satin column ties the fabric down before the top stitches pull across it. Without that tie-down, the first satin pass drags the knit toward the column. Letters grow a halo. A fill with no underlay lets the fabric shift between the first rows and the last, so one side of the design is tight and the other side is loose.
Put underlay in for the fabric you are on. A stable woven can live with a light edge run. A polo wants a zigzag under satin and a fill underlay more open than the top stitches. If columns are puckering and the file has no underlay, add it and sew the sample again before the rest of the order.
The fabric stretches
Polos, athletic jerseys, and stretch tees move in the direction of the elastic. You can hoop them flat and still pucker if the design fights that movement. A wide satin column across the stretch is a classic failure. The column locks the fabric at one width. The rest of the shirt wants to move when someone pulls it on. The lock wins in the hoop and loses the first time the garment goes over a body.
Hoop with the fabric relaxed. Use cutaway, shorten wide columns, add underlay, and drop density so the knit can still flex. Sew for the shirt after it is worn, not for the shirt pinned flat. Stretch the sample with your hands. If the waves appear, the plan is still too stiff.
The design is bigger than the stable area
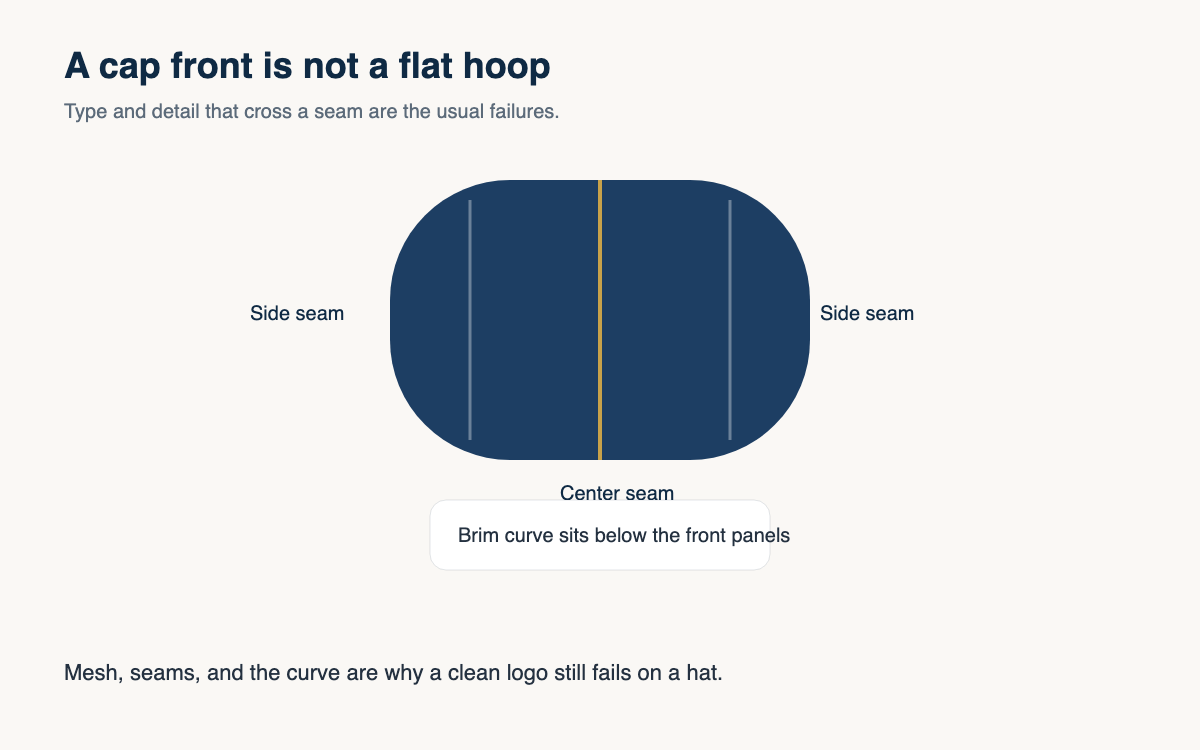
Every garment has a region that can hold stitches and a region that cannot. A design that runs from the placket to the side seam is larger than the stable area of a polo. A design that crosses the center seam of a cap and keeps going toward the mesh is larger than the front panel can support. The stitches in the middle look fine. The stitches at the edge grab the unstable part, and the whole design puckers as one piece when the hoop opens.
Shrink the design to the stable area. On a chest, stop clear of the placket, the pocket, and the side seam. On a cap, stay on the front panels and above the brim curve. On a hoodie, stay off the pocket and the hood seam. If the art only works at a size the garment cannot hold, sew a smaller version.
- Hoop flat and check that a stripe did not widen inside the ring.
- Match the backing to the knit or the woven before you blame the file.
- Reject a density square that cups after you unhoop.
- Confirm underlay under satin columns and under fills.
- Keep wide columns from locking a stretch fabric, then tug the sample.
- Keep the design inside the stable area, off seams and mesh.
Re-hoop one shirt with the fabric relaxed, put the right backing under it, and sew the same file. If the waves are gone, the file was not the first problem. If they remain, open the density and add the underlay. Most shops find the answer in the hoop before they find it in a new cone.
A question for the group
What is your go-to trick for preventing puckering?