
Techniques
The truth about embroidery stitch density
More stitches are not a better sew. Extra density adds holes, time, thread, and a stiff hand. Judge the sew-out by drape and damage, and cover the fabric with underlay and stitch direction instead of packing the fill.
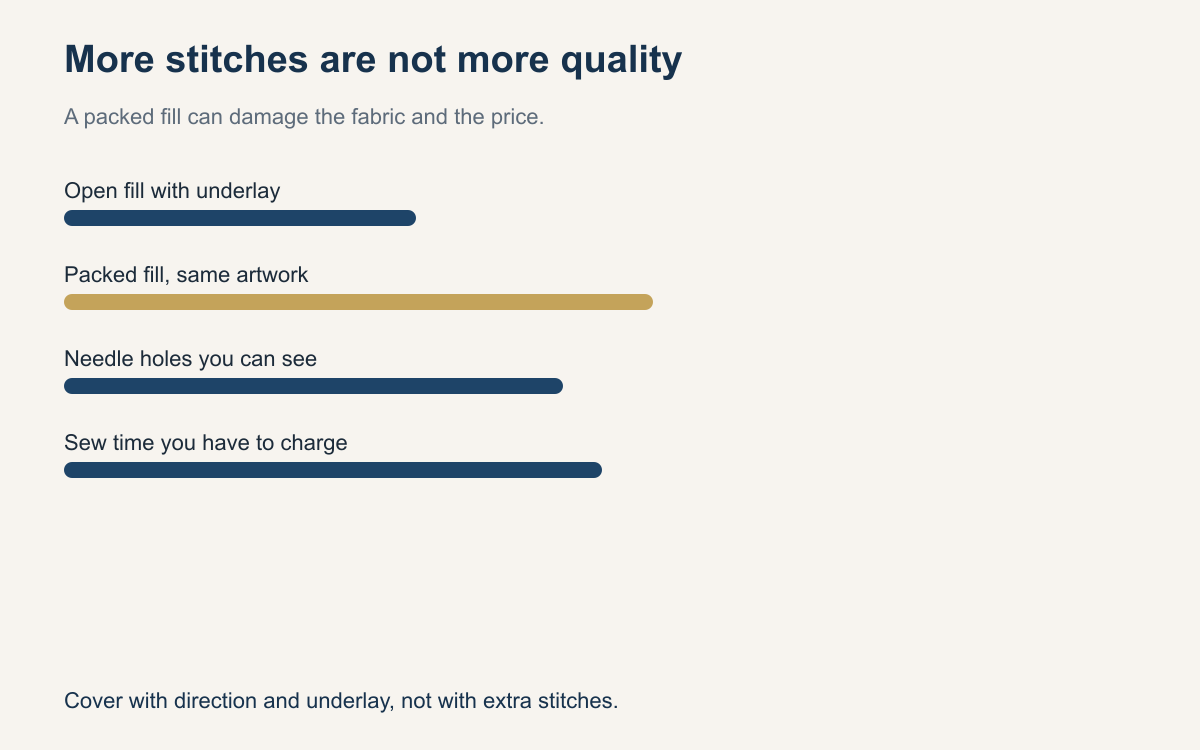
A heavier fill feels like quality until you hold the shirt. The design is stiff, the knit is perforated, the machine ran longer, and the back of the garment is a slab of thread. Customers rarely ask for more stitches. They ask for a mark that looks solid and a shirt that still feels like a shirt. Those are not the same request as maximum density, and treating them as the same is how shops damage goods and underprice the time.
Density is the space between stitches, and it has to match the fabric, the thread, and the size of the shape. A number that looks full on a jacket can crater a cap and shred a performance tee. The truth is boring and useful. Sew enough to cover. Stop before you damage the blank. Use underlay and direction to do work that extra stitches do badly.
More stitches are not always better
Coverage is what the eye wants. Density is only one way to get it, and past a point it stops helping. Stitches on top of stitches do not look smoother. They look ridged, they shine in a way that reads as thick, and they make small shapes close up. A letter fills in. A detail that was supposed to be a gap becomes thread. You spent more time to make the design less readable.
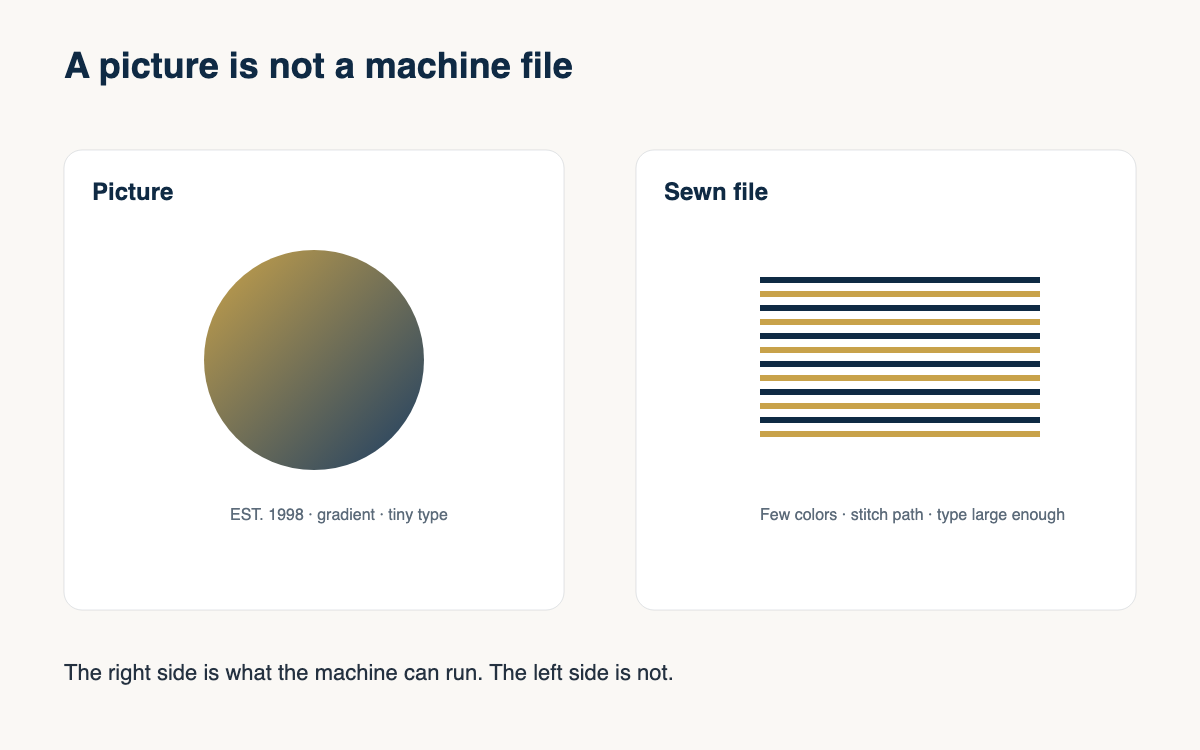
Ask what the extra stitches are for. If the fabric color is showing through, you may need underlay, a better angle, or a slightly tighter fill. If the shape is already covered and you are adding stitches because the screen looks sparse, stop. The screen is not the shirt. A fill that looks a little open on the monitor often looks solid in thread, and a fill that looks solid on the monitor often looks armored on the chest.
Damage and needle holes
Every stitch is a hole. On a knit, a dense fill is a line of holes that wants to become a run. You see it as a halo of cuts around the design, or as a shirt that tears when you tug the sample. On a cap front, the same idea shows up as a crater. The needle did not cut the hat open. It pushed the structure in because there were too many punches in one place. Wovens hide this longer and still show a board.
Look at the holes, not only at the color. Hold the sew-out up to the light. If you can see a perforated outline, the density is past what that fabric wanted. This is the check that should happen on scrap, not on the last piece of a matched set. If the test is already damaged, do not sew the order and plan to be careful. Careful still punches the holes. Fewer stitches, or a different backing and a better angle, is the repair.
Cost and stiffness
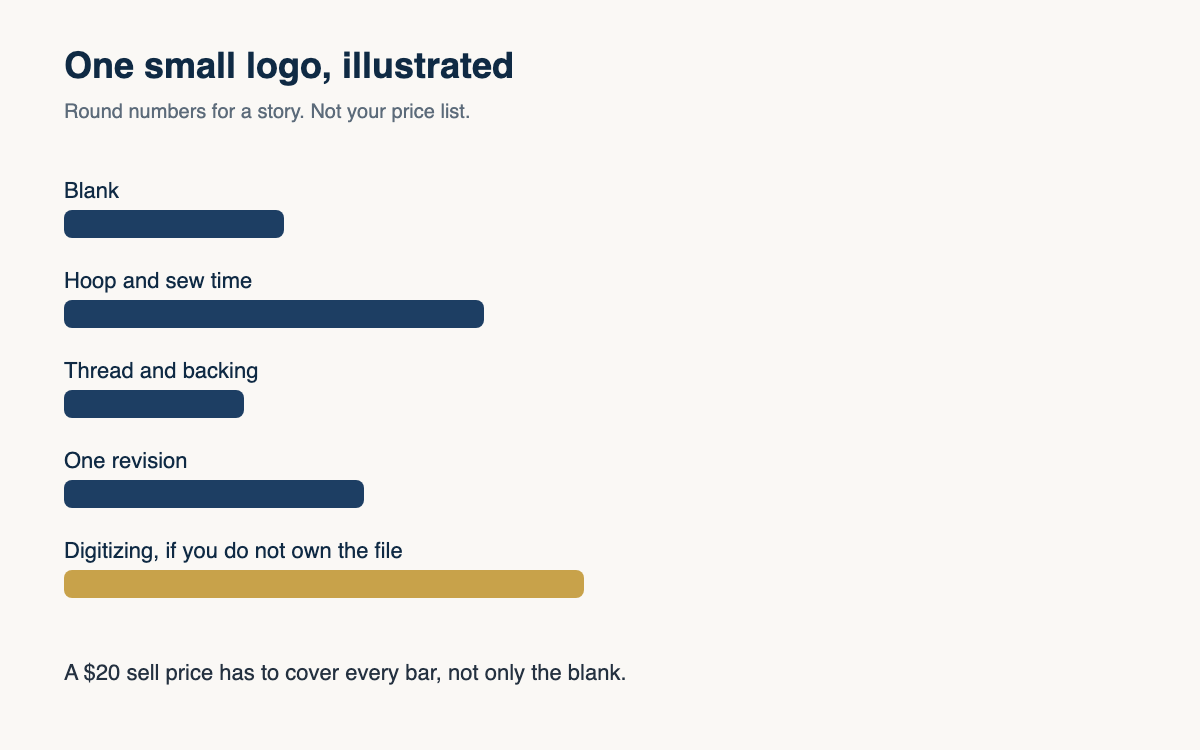
Stitches are minutes. A packed fill can double the run of a simple left chest while the quote stays the same. Thread use goes up, and so do breaks. If two files cover the same logo and one sews in half the time without looking thin, the long one is a slower habit, not higher quality.
Stiffness is the bill the customer feels. A cap that will not flex or a polo that stands off the chest is density you can touch. Compare the logo with an unsewn part of the same garment. Firmer is fine. A patch is not. Pull the fill back before you commit the order.
How to judge a sew-out
Judge the sample in the room. Step back and see if the mark reads, then look close for show-through, split columns, and holes. A brick of thread on the back means the top is too dense or the tension is hauling thread through. Tug a knit. Wash one piece if you can, because a mild problem on the table gets worse in a dryer.
Sew the file as it arrived and sew a lighter version on the same goods. Keep the one you would wear that still covers. The heavier file looks safer on the screen. The sew-out is the vote. If the lighter one looks hungry, add a little back or fix the underlay instead of returning to a packed fill.
Compensate with underlay and direction
Underlay lifts the top stitches off the fabric so a more open fill can still hide the shirt color. A zigzag under satin gives the column a bed so you do not have to sew the column twice as dense to make it look smooth. A light fill underlay stops a pale thread on a dark knit from looking speckled. This is the compensation that lets you reduce the top density without a thin result. Packing the top stitches to hide a missing underlay is the long way around, and it is the way that damages the blank.
A fill that runs with the ribs of a pique sinks and tempts you to add stitches. A fill that crosses the ribs covers with fewer of them. Set the angle for the fabric, then set the density. One solid underlay and one considered direction will beat a heavier fill on almost every knit.
When to leave the density alone
Some shapes need the stitches. A small satin column has a minimum width, and starving it makes a broken edge. A freestanding piece has to be dense enough to hold together after the washaway is gone. A cap can go too light and look sparse in the sun. The goal is not the lowest number. The goal is the lightest fill that still covers, still edges cleanly, and still leaves the garment usable. If a lighter test fails those, put stitches back with a reason.
Write the reason on the file. Density reduced for this polo. Underlay added. Angle turned to cross the knit. Otherwise the next person restores the heavy fill because it looks normal in the software. Keep the sew-out that drapes.
- Do not add stitches to a fill that already covers.
- Reject a density that leaves a perforated halo.
- Compare the hand with an unsewn part of the same garment.
- Count extra minutes as cost.
- Fix underlay before you pack the top stitches.
- Turn the fill so it crosses the fabric texture.
- Keep the lighter sew-out that still covers.
Density is a limit, not a virtue. Past the point of coverage you are buying holes, stiffness, and minutes. Judge the sample in your hand, then compensate with underlay and direction before you pack the fill. The better sew is the one that still looks like the garment when you are done, and that is a choice you can make in the file before the machine ever starts.
A question for the group
How do you decide a fill is too dense, and what do you look at on the sew-out before you change the number?