
Techniques
Where a logo should go on hats, polos, and hoodies
Placement is a habit you measure on the blank, not a standard. Keep a cap logo on the front panel, a left chest near 3.5 to 4 inches wide and clear of the placket, a full back off the hem and the hood seam, and a sleeve short enough to hoop.
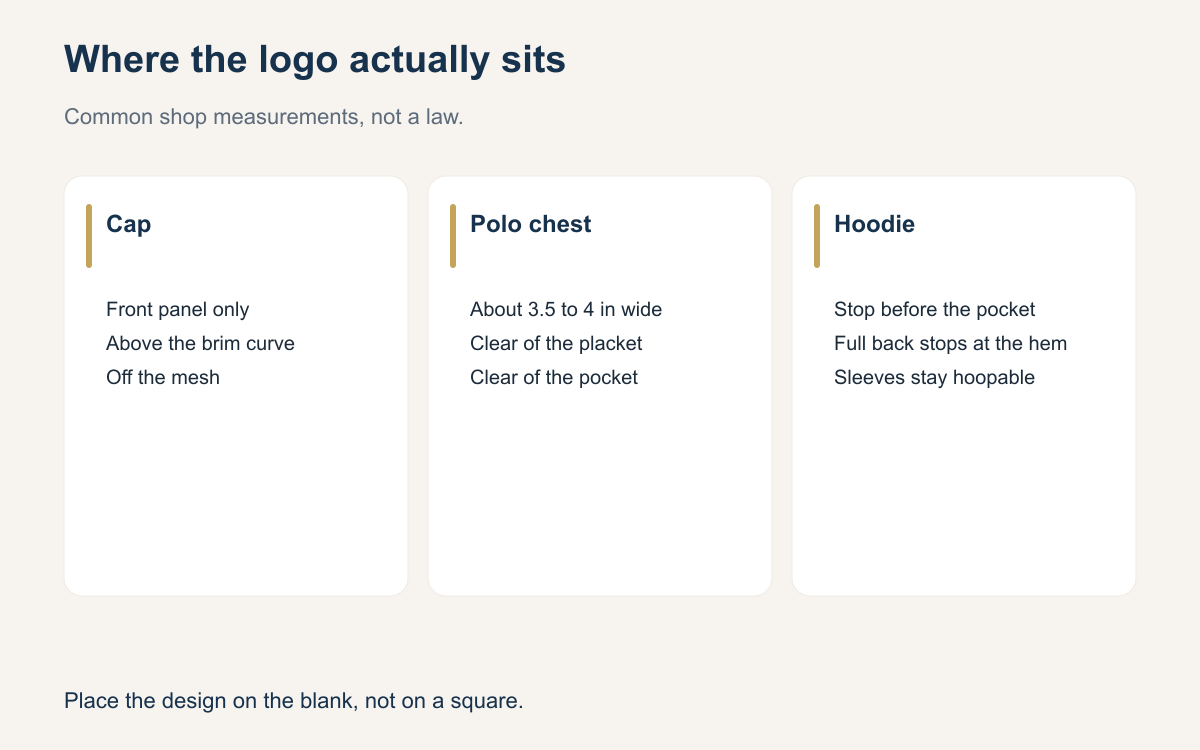
A logo in the wrong place looks crooked even when the sew is straight. It sits on a cap seam, dives into a pocket, or crowds a placket, and the customer says the hat looks off without knowing why. You cannot fix that with tension. You fix it by deciding the placement on the blank before you center the file on a rectangle and call it done.
The measurements below are common shop practice, not a standard. Two good shops will disagree by half an inch and both will ship clean work. What they agree on is the obstacles: mesh, brim curve, placket, pocket, hood seam, hem, and the fact that a sleeve is a tube. Use the ranges as a starting habit, then measure the garment you are holding and write the placement down.
Caps stay on the front panel
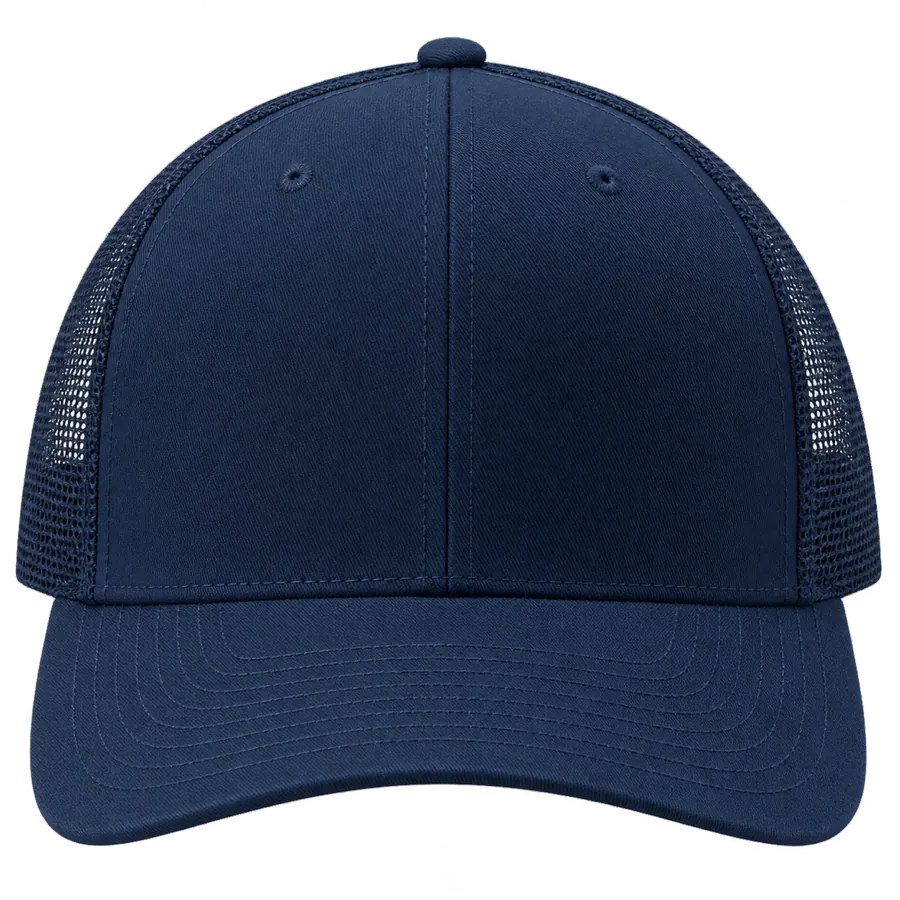
On a cap, center the design on the front panel, above the curve of the brim, and off the mesh. The mesh will not hold satin. The brim curve changes the needle angle, so stitches that fall over it look thin or tilted. The front panels meet at a seam on many truckers, and thin type will split if you park a stroke on that seam. A bold mark can cross the seam. A hairline cannot. Look at the hat on a form, from the front, before you approve the position in the frame.
Many shops keep a structured front around 2 to 2.25 inches tall so it clears the brim curve, and they will tell you that range is a habit, not a law. If the art only fits by running onto the mesh, shorten it.
Left chest on polos and shirts
A left-chest logo is often about 3.5 to 4 inches wide. Wider than that starts to feel like a banner on a polo, and it runs into the placket or the side seam on smaller sizes. Keep it clear of the placket and clear of any pocket. A design that touches the pocket seam will look like it slipped, and the seam will distort the stitches. If the shirt has a pocket, either sit fully above it with room to spare or do not use that placement.
How far down is where shops differ. Many start the design a few inches below the shoulder seam. Others measure to the center and land nearer the middle of the chest. Both are practice, not a standard. The mark has to look level on a body and stay clear of the placket and the pocket. Measure from a seam you can find again, and use that number on every size.
Full back stops early

A full back has to stop before the hem and, on a hoodie, before the hood seam. Stitches on the hem curl. Stitches in the hood seam lift and break the top of the mark. Leave a gap at both ends, and stay off the side seams.
A common habit is a back mark near 10 to 12 inches wide on an adult fleece, smaller on a smaller blank. That width is practice, not a standard. The rules that travel are the stops: above the hem, below the neck or hood seam, and inside the side seams. A youth hoodie is not an adult back with the same file dropped on it.
Hoodie chest must clear the pocket
The kangaroo pocket is the trap on a hoodie chest. A design that sits where a polo logo sits will land on the pocket opening, and you will sew the pocket shut or split the mark across the seam. The chest logo has to finish above the pocket with a gap you can see. Find the pocket on the blank, not on a size chart, because pocket height moves by brand and by size.
If the art is too tall to live between the neck and the pocket, shrink it or move it to the back. Do not overlap the pocket and plan to sew carefully. Careful still hits the seam. Mark the top of the pocket in a photo before you sew. That conversation is cheaper than a ruined fleece.
Sleeves have to fit in a hoop
A sleeve is a tube. The design has to stay short enough to hoop without the needle sewing the other side. If you cannot hold one layer flat, with backing, and keep the under layer out of the needle, the design is too tall. Shrink it.
Keep sleeve marks off the long seam, usually a few inches down from the shoulder on the outside of the arm. Those inches are a habit you confirm on the garment. A word running down the arm needs a test hoop before you promise it. If it is too long for the hoop you own, the mockup does not win.
Write the placement before you sew
Placement fails in the handoff when nobody writes it down. Name it in words and one measurement you can repeat. Front center of the cap, on the front panel, above the brim curve. Left chest, about 3.5 to 4 inches wide, a few inches down from the shoulder seam, clear of the placket. Full back, stopped before the hem. Hoodie chest, above the pocket.
Measure from a seam, not from a wrinkle, and use the same side on every piece. Check the first shirt of each size, because a small and a 2X do not share a chest. If a pocket is in the way, move the design before the run. A written placement is how the fifth shirt matches the first.
- Center a cap design on the front panel, above the brim curve, off the mesh.
- Treat about 2 to 2.25 inches of cap height as a habit, then measure.
- Keep a left chest about 3.5 to 4 inches wide, a few inches down from the shoulder seam.
- Stay clear of the placket and the pocket.
- Stop a full back before the hem and the hood seam.
- Finish a hoodie chest above the pocket.
- Keep sleeve designs short enough to hoop.
- Write the placement on the order before the first piece.
Mark the spot on the blank before you trust the screen. Caps stay on the front panel. A left chest stays about 3.5 to 4 inches wide and clear of the placket. A full back stops before the hem and the hood seam. A hoodie chest clears the pocket. A sleeve stays short enough to hoop. Those are habits, not a standard.
A question for the group
Where do you place a left-chest logo, and what seam do you measure from so the next shirt matches?