
Techniques
Embroidery on Richardson 112 hats
A Richardson 112 is a structured trucker with a stiff front, mesh sides, and a center seam. Keep the design on the front panel, usually around 2 to 2.25 inches tall as shop practice, with lighter density and a real cap backing so the front does not crater.
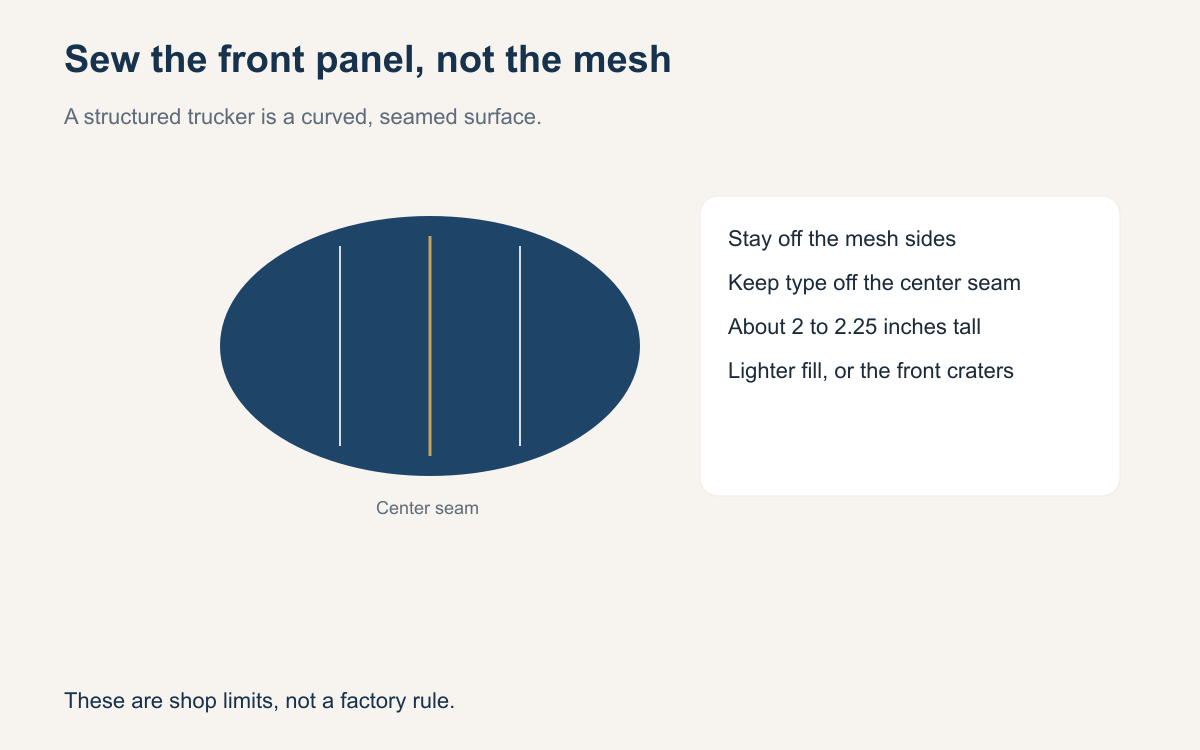
A Richardson 112 looks simple until you try to sew the artwork the customer sent for a jacket. The front is stiff, the sides and back are mesh, and the two front panels meet at a seam. A file that looked balanced on a square will sit on that seam, fall toward the mesh, or push the front in until the foam dents. None of that is fixed by sewing slower. It is fixed by treating the hat as a hat.
The limits below are what many shops use as practice, not as a law. Richardson does not hand you a stitch height, and two shops can sew the same front at slightly different sizes and both be right. What does not change is the shape of the blank. Structured front. Mesh that will not hold satin. A center seam. A brim that curves away from the design. Measure the hat in your hand, then decide.
Sew it in a cap frame
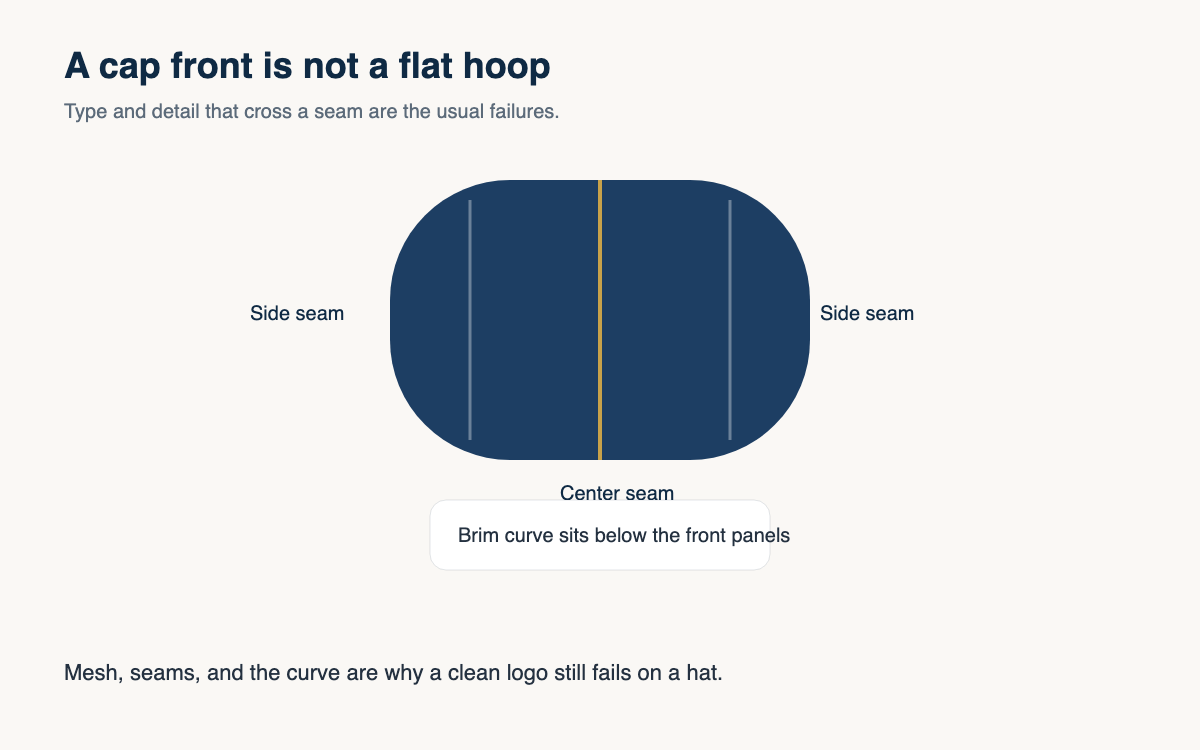
This hat wants a cap frame, not a flat hoop. The frame holds the front panel so the needle meets the cloth at a steady angle. A standard hoop lets the panel shift, the seam wander, and the design climb or dive. Set the hat, then check the seam before you start.
Keep the design on the front panel. The mesh sides and the mesh back will not hold a satin stitch. A fill sewn there shreds and sinks. If a word only fits by running onto the mesh, offer a shorter mark that stays on the structured front.
Height is a habit, not a law
Many shops keep a front design on this style around 2 to 2.25 inches tall so it clears the brim curve and stays off the seam problems at the top of the panel. That range is practice. It is not a measurement stamped on the hat, and it is not a promise that 2.3 inches will always fail. Taller can work when the mark is simple, narrow, and sitting in the flattest part of the panel. Shorter is often better when the type is small or the design is wide.
The brim curve is the part people forget. The bottom of the panel rolls toward the visor, and stitches that fall over that roll get thin or crooked. Leave air under the design and air at the top so you are not crowding the seam. Look at the hat from the front, not only from above in the frame.
The center seam will split thin type
The front of this trucker is two panels with a seam down the middle. Anything you center will cross that seam or sit beside it. A bold shape can cross a seam. A thin letter cannot. The seam lifts, the column breaks, and the word looks cracked even when your hooping was straight. If the name is delicate, move it off the seam or make the strokes heavy enough to cross without splitting.
Show the seam before you sew the run. A mark that must be centered and must also use hairline type is two requests this hat cannot grant together. Pick a bold centered version or a lighter mark set off the seam, and write that choice on the order.
Lighten the density so the front does not crater
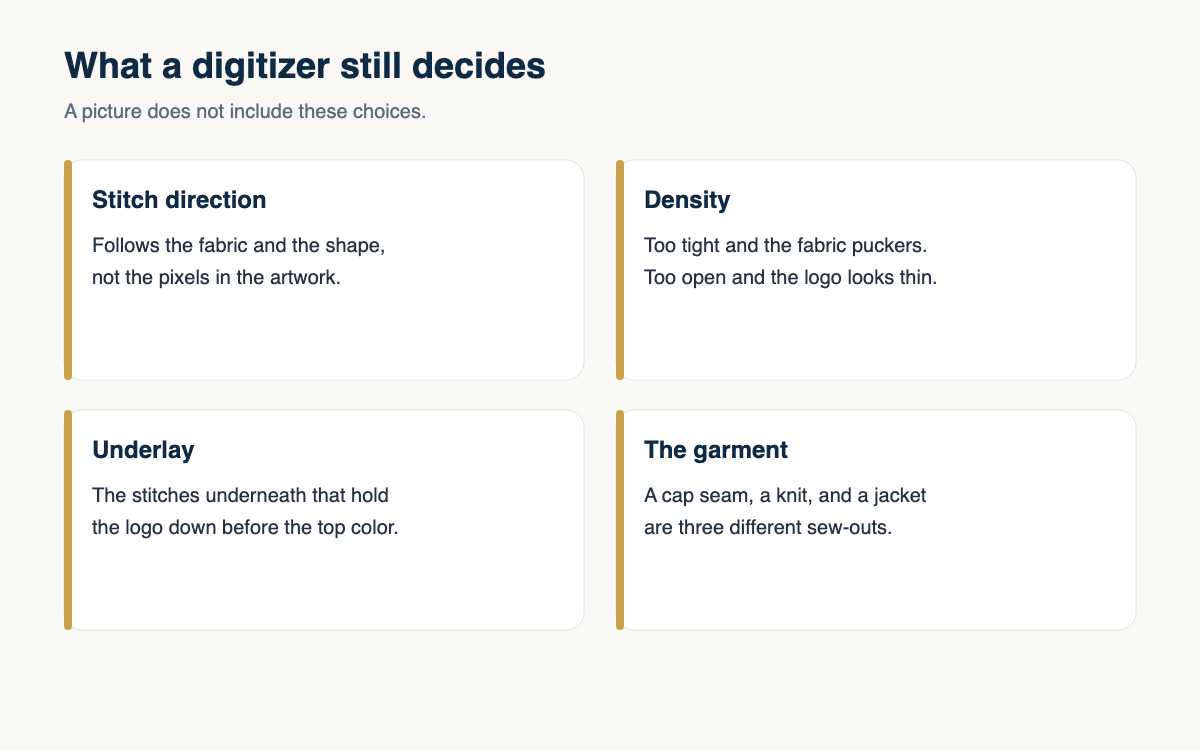
The front panel is stiff because it is built up, not because it is a board you can punch forever. A dense fill pushes the face in. You see a crater around the design, a shine on the foam, and a hat that looks chewed when the light hits it. The same fill that feels correct on a heavy jacket is too much thread for this front. Lighter density, a real underlay, and a stitch direction that covers will look fuller than a packed fill that dents the panel.
Sew one hat as the test and look at the front in a raking light. If the panel dips, pull stitches out of the fill before the rest of the order. Slowing the machine does not stop a heavy fill from crushing the front. A file from a flat-goods job is the wrong density until this hat proves otherwise.
Use cap backing
A structured front still needs backing. Most shops use a firm cap backing, often a tearaway made for caps, sometimes with a topping if the panel face is textured or the thread color is light. The backing supports the stitches and gives the needle a cleaner exit. It is not a cutaway you leave as a thick patch inside the crown, and it is not the tearaway you use on a polo. Cap backing is its own item on the shelf.
Trim the backing so the crown does not feel like a stack of cards. Loose tails are what people notice when they put the hat on. A small design still needs cap backing. Skipping it is how a clean file starts to flag on the seam. Keep the cap sheet next to the frame.
What to decide before the first hat
Do not invent a fiber blend or a factory measurement you have not checked on this shipment. Hats vary by colorway and by year, and a number you memorized from a catalog is not the hat on the bench. Measure the front panel you have. Confirm the design fits on that panel, clears the brim curve, and does not depend on the mesh. Confirm the height is in the range your shop is willing to stand behind, often around 2 to 2.25 inches, and say out loud that the range is a habit.
Then sew one. Look at the seam, the crater, and the inside of the crown. If any of those fail, change the file or the backing before hat two. This hat is a small, seamed, stiff panel with mesh beside it, not a flat left chest.
- Sew on a cap frame and line the center seam up first.
- Keep satin on the structured front, off the mesh.
- Leave room above the brim curve.
- Treat about 2 to 2.25 inches as a habit, then measure the hat.
- Keep thin letters off the center seam.
- Drop density until the front does not crater.
- Use cap backing and trim the inside of the crown.
The hat will tell you the truth on the first sew-out if you are willing to look. Panel, seam, mesh, brim curve, dent, backing. Many shops use the same height and density limits every week, and they will also tell you those limits are practice, not a law. Copy the habit only after it survives the hat in your hand. Then write the placement on the order so the next person does not redesign it on hat number six.
A question for the group
What height do you actually sew on a Richardson 112 front, and what did you stop sewing after a crater or a split seam?