
Tools
Better embroidery mockups without a photoshoot
You do not need a studio day to show a buyer the mark on the garment. Use the real blank color, show the real size, and label the image as a preview. Hide the pucker or the tiny line you will not sew, and the mockup becomes a promise you cannot keep.
A full photoshoot is a good way to show the shop at its best, and a bad way to approve every order. You cannot book lights and a model because a clinic wants twelve polos. You still need the buyer to see the logo on the right color, at the right size, before you sew. That image can be a simple mockup. It has to be an honest one.
Honest means three habits. The blank color matches goods you can hold. The art is shown at the inch size you will sew, not blown up to fill the frame. Anything you will not sew is already gone from the picture, and the picture is labeled as a preview. Do those three and you can skip the studio for daily orders. Skip them and a cheap mockup creates a more expensive argument.
Start from the blank you will actually sew
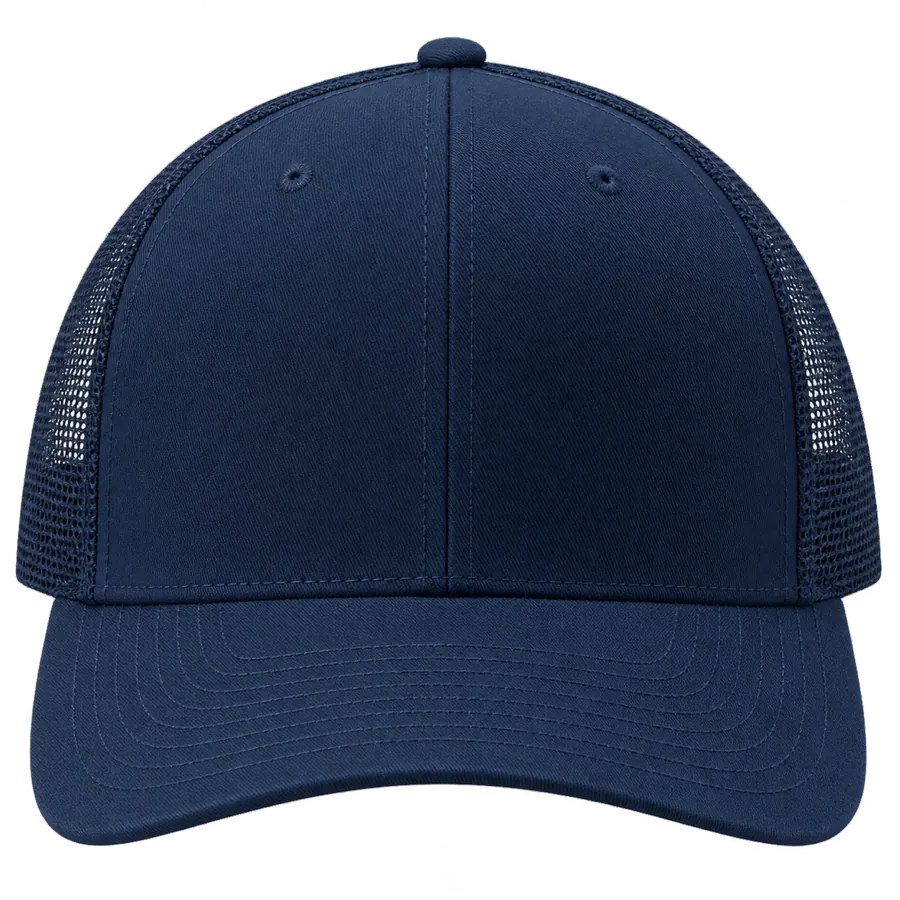
Pick the color from the goods, not from memory. Navy is not black. Royal is not purple. A sport grey hoodie is not the charcoal tee in last month folder. If you have a photo of the real blank, use that photo. If you have a flat product image from the supplier of the exact style and color, use that. A random cap from a search will be the wrong shape, and the buyer will approve a hat you do not sell.
Look at the photo in daylight next to the shirt on the table. If the screen blue is brighter than the shirt, correct it or say so in the message. Shadows and filters that make fabric look smoother than it is will also make the logo look smoother than the sew. You are not building an ad for a brand campaign. You are showing this order. The closer the blank is to the piece you will hoop, the fewer surprises at pickup.
Show scale in inches, not in vibes
A logo that fills a square preview looks huge. The same logo at three and a half inches on a chest looks like a normal left chest. On a cap, two inches of height is a real front mark, and four inches of height usually does not fit the panel. Place the art at the size you intend to sew. Write the width and height in the message, and put those numbers on the preview if you can.
Scale also includes what sits around the logo. A left chest clears the placket and the pocket. A cap front clears the seams and stays off the mesh. If your mockup centers art on a rectangle with no garment lines, the buyer cannot see the conflict. Drop the art on the blank in the same place your hoop will land. If you are unsure of the inches, measure a finished sample you like and copy that, instead of stretching the art until it "looks big enough".
Do not hide the flaws you already know
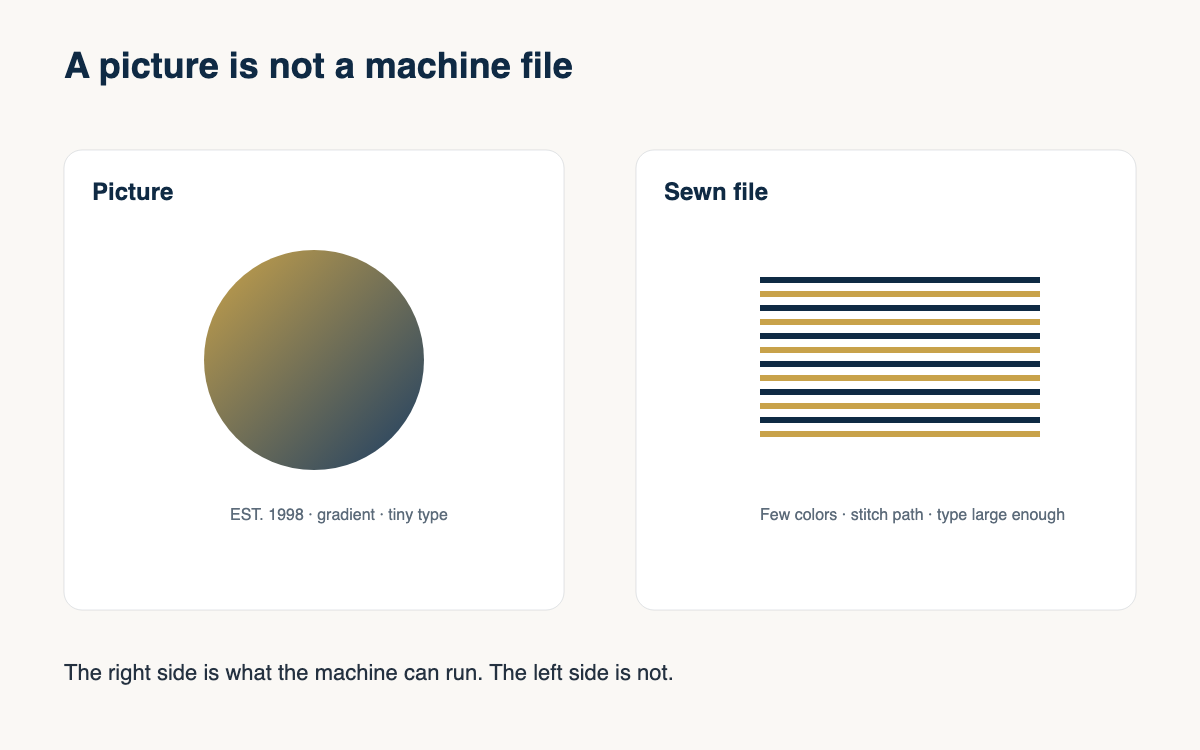
Puckering is a fact about knits, density, and hooping. If your test sew bubbles around the design, do not send a glassy illustration that shows a perfectly flat patch. Send the test photo, or say in the first lines that the knit may show a slight halo and that you have set density to limit it. Buyers forgive texture they were warned about. They do not forgive a smooth picture that became a rippled shirt.
The same rule covers a tiny mark that will not sew. If you are dropping the tagline, the icon outline, or the street in the skyline, drop it in the mockup too. A preview that still shows the hairline is a promise. You will either sew a blob or you will explain the missing line at pickup, which is the worse time. Match the preview to the version you will digitize. If you have not decided, do not send the picture yet.
Label the image as a preview
Put the word preview on the image or in the first sentence. Say it is a layout of the art on the blank, not a photograph of the finished embroidery. Thread has sheen, stitch direction, and a little texture that a flat picture will not copy. A buyer who knows that will judge placement and color. A buyer who thinks the picture is a photo will judge you for every difference.
Keep the label plain. "Preview, not a photo of the sew-out. Front logo about two inches tall on the navy cap." That is enough. Do not add a paragraph of legal fog, and do not hide the word in a footer nobody reads. If you also have a real sew-out photo from a similar job, you can send it second, labeled as a sample of stitching, not as this order. Two pictures with two labels beat one picture that blurs the difference.
A short sequence before you hit send
Work in the same order every time so you do not skip the awkward step. Choose the exact blank. Place the art at the sew size inside the real area. Limit the colors to thread you can match. Remove anything you will not sew. Export a picture that is large enough to read on a phone. Add the preview label and the inches. Then write one sentence that asks for a yes to that size and that placement.
Save the file with the order name. If the buyer asks for a change, change the art and send a new preview with a new version in the name. Do not edit the old image and hope everyone can tell. When the yes comes back, the preview you save is the one digitizing has to match. A mockup habit is not a photoshoot. It is a way to make the next sew-out look like the picture you both already accepted.
- Use a photo or supplier image of the exact blank color.
- Place the art at the width and height you will sew.
- Keep the art off seams, mesh, pockets, and zippers in the picture.
- Show only colors you can match to thread.
- Remove tiny type and lines that will not survive the hoop.
- Say preview, and state the size in inches, before you ask for a yes.
- Save the approved version under the order name.
You can make a better mockup this week without renting a studio. Start from the real blank, show the real scale, leave the flaws and the deleted details visible or clearly gone, and label the image as a preview. The buyer can approve a layout. You keep the right to sew a sample when the fabric is fussy. The picture is a shared plan, not a filter.
A question for the group
When you send a mockup, do you show the real blank and the real size, or are you still hiding the parts that will not sew?