
Techniques
Digitizing versus auto-digitizing
Auto-digitizing can trace simple shapes, limited colors, and clean vectors. It struggles with tiny type, gradients, photographs, textured fabrics, and caps. A person still has to edit the stitch file before that trace becomes something you can sew twice.
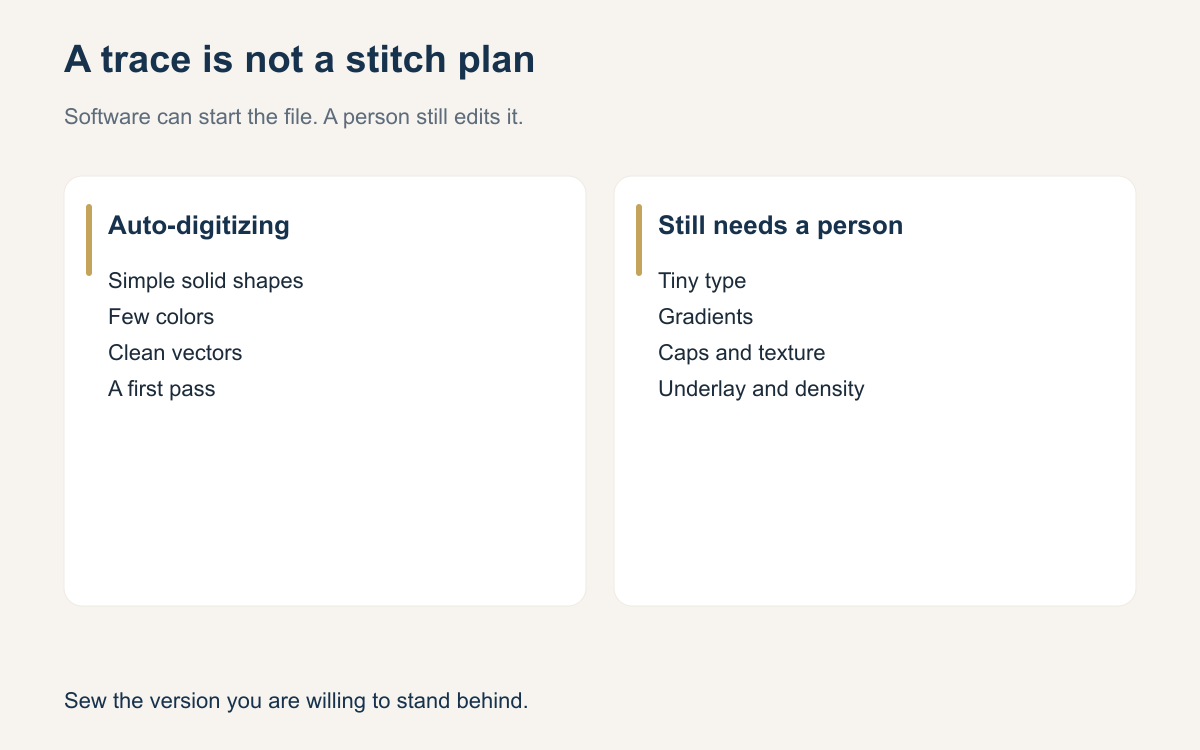
Auto-digitizing will turn a clean picture into a stitch file while you watch. That is useful, and it is not the same as a file you should load onto a production run. A trace follows edges. It does not know that a polo stretches, that a cap has a seam, or that a letter under a quarter inch will collapse. If you sew the trace because it appeared quickly, you are letting the picture make choices that belong to the shop.
Use the tool for what it is good at, then put a person on the stitch file before the machine does. The person does not have to redraw every run on a simple one-color shape. The person does have to look. Sequence, underlay, density, direction, and the bits of the art that thread cannot make are the edit. Skip the edit and you will learn the limits on a customer shirt instead of on a scrap.
What a trace handles well
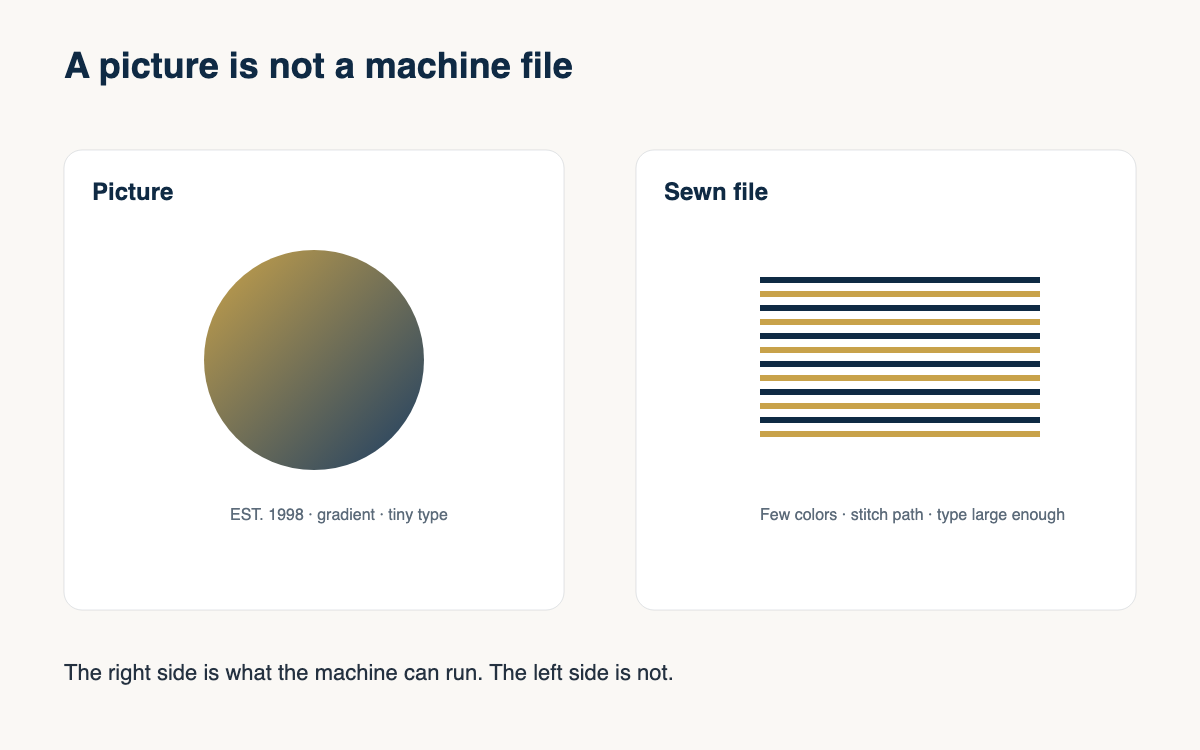
Auto-digitizing handles simple shapes with clear edges. A bold one-color icon, a simple two-color mark, a clean vector with no tiny interior detail: the trace can find the outlines and fill them. Limited colors help, because each extra color is another guess about where one shape stops and the next starts. If you can describe the art as a few solid pieces and the edges are crisp, the first pass can be a real head start.
Treat that pass as a start. Check direction, underlay, and sew order. A trace often uses one angle and skips the underlay a knit needs. Keep the shapes and edit those choices. The time you save is the outline. The time you still spend is what makes the file sew cleanly twice.
Tiny type falls apart
Small lettering is where auto-digitizing gets shops into remakes. The trace will happily build satin columns that are too narrow, or a running stitch that closes the centers of the letters. It does not apply a floor. If the art has a tagline, a phone number, or a word that will be under about a quarter inch at sew size, the trace will still try. You get a ridge of thread and a customer who says the name is wrong.
A person editing the stitch file should delete or enlarge that type before anyone hoops a shirt. Thicken strokes that are really hairlines. Open counters that filled in. Drop the line that cannot pass a size you have sewn before. Do not expect the next run of the tool, with the same art, to develop judgment. The judgment is the edit. If the only way the file works is with the tiny line removed, remove it in the quote, not after the sample fails.
Gradients and photographs
Gradients and photographs ask for hundreds of color steps. Thread does not blend that way. Auto-digitizing will either posterize the photo into a stack of dense fills or try to follow every shade with stitches that are too small to read. The result is a stiff patch, a long sew, and a picture that still does not look like the photo once you step back. The tool did what it can. The art was never a stitch plan.
A person has to simplify the image to a few solid shapes, or decline the photograph. Give each shape enough room to be a real fill. If the customer needs the photo itself, that job may be a print. Hoping auto-digitizing will turn a portrait into thread spends an hour on a file you should have refused.
Textured fabrics and caps
Textured fabric is invisible to a trace. The file looks even on the screen and then sinks into pique, fleece, or terry, or it puckers a stretch knit because nobody added underlay or cut the density. Auto-digitizing does not know you are sewing a polo. A person editing the stitch file adds the underlay, drops the density for that knit, and calls for topping when the pile will swallow the stitches. Those are fabric decisions. They are not in the picture.
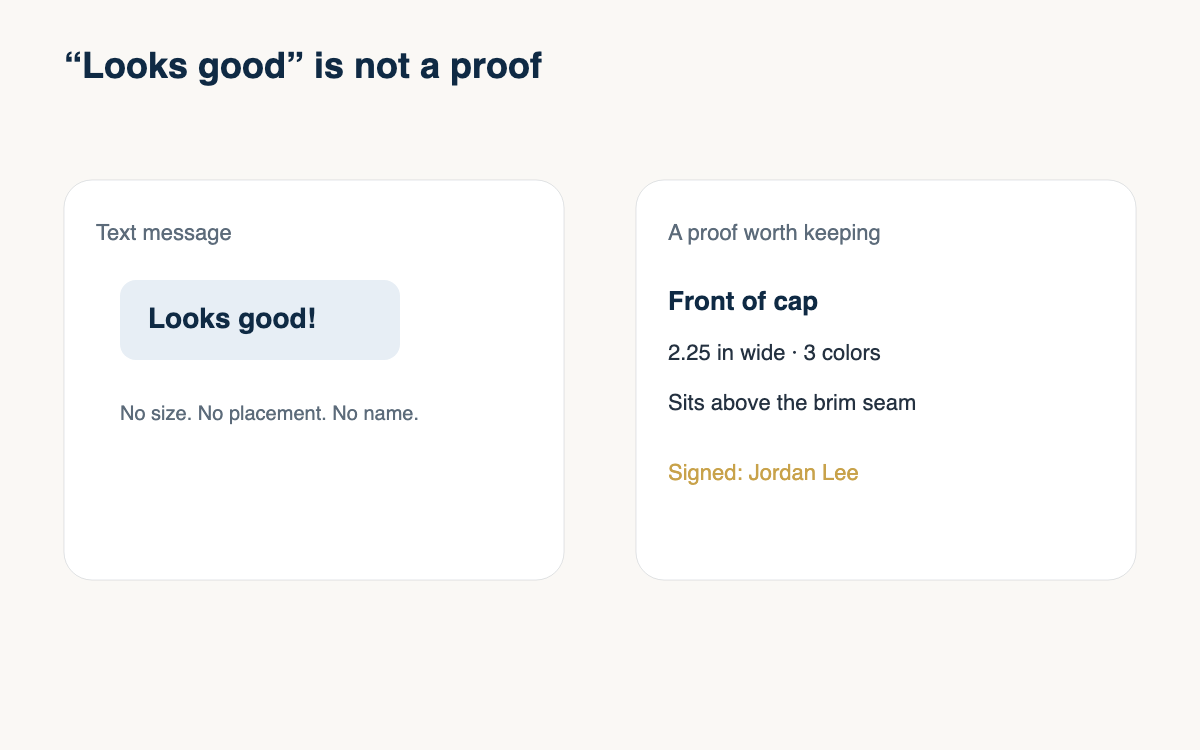
A cap is the other blind spot. The trace assumes a flat square. The hat has a curve, a center seam, a brim, and mesh that will not hold satin. A person has to refit the design: shorter, often around 2 to 2.25 inches as a habit and not a law, lighter so the front does not crater, and entirely on the front panel.
When a person should edit
Edit the stitch file whenever the sew is for a customer. On a simple shape, confirm underlay, density, sequence, and type size, then sew a sample. On type, a gradient, a photo, a texture, or a cap, the edit is the job. The trace was the sketch.
A person should also edit when the tool reduced colors badly, when every fill shares one angle, or when the stitch count is huge for the size of the mark. Those are signs the trace imitated the picture instead of planning the sew. Fix them in the editor you trust, save the file you will actually run, and do not let the next export overwrite that edit with a fresh trace. The edited file is the one you stand behind. The raw trace is a draft.
A practical way to review
Open the file and read it like a sew, from the first stitch to the last. Where is the underlay. Where are the trims. Which shapes are satin and which are fill. Is any letter too small for the blank. Is the density something you have sewn on this fabric without a crater or a pucker. Does the design fit the placement, especially on a cap. If you cannot answer those, you are not ready to hoop, no matter how fast the trace appeared.
Then sew a scrap of the real goods with the backing you intend to use. A smooth preview is not a pass. If the sample is clean, keep the edited stitch file. If it fails, a person edits it again. Use auto-digitizing. Do not skip the person.
- Let auto-digitizing trace simple shapes, limited colors, and clean vectors.
- Have a person edit underlay, density, direction, and sequence.
- Delete or enlarge tiny type under about a quarter inch.
- Simplify gradients and photographs before anyone sews them.
- Add cutaway, lighter density, or topping when the fabric needs it.
- Refit cap designs to the front panel and a lighter density.
- Sew a scrap from the edited stitch file and keep that file.
Auto-digitizing is a fast trace of simple art. It is not a judgment about type, photos, texture, or caps. A person editing the stitch file puts the underlay in, sets the density for the blank, and throws out the details thread cannot make. Run the tool when the shapes are clean. Then review the file and sew a scrap. The machine should only see the version a person is willing to repeat.
A question for the group
When a trace comes off the screen, what do you always change in the stitch file before you will sew it?