
Machines
How to choose the hoop for the blank in front of you
The right hoop is the smallest one that holds the design flat, clears the seams, and matches the way that blank has to be framed.
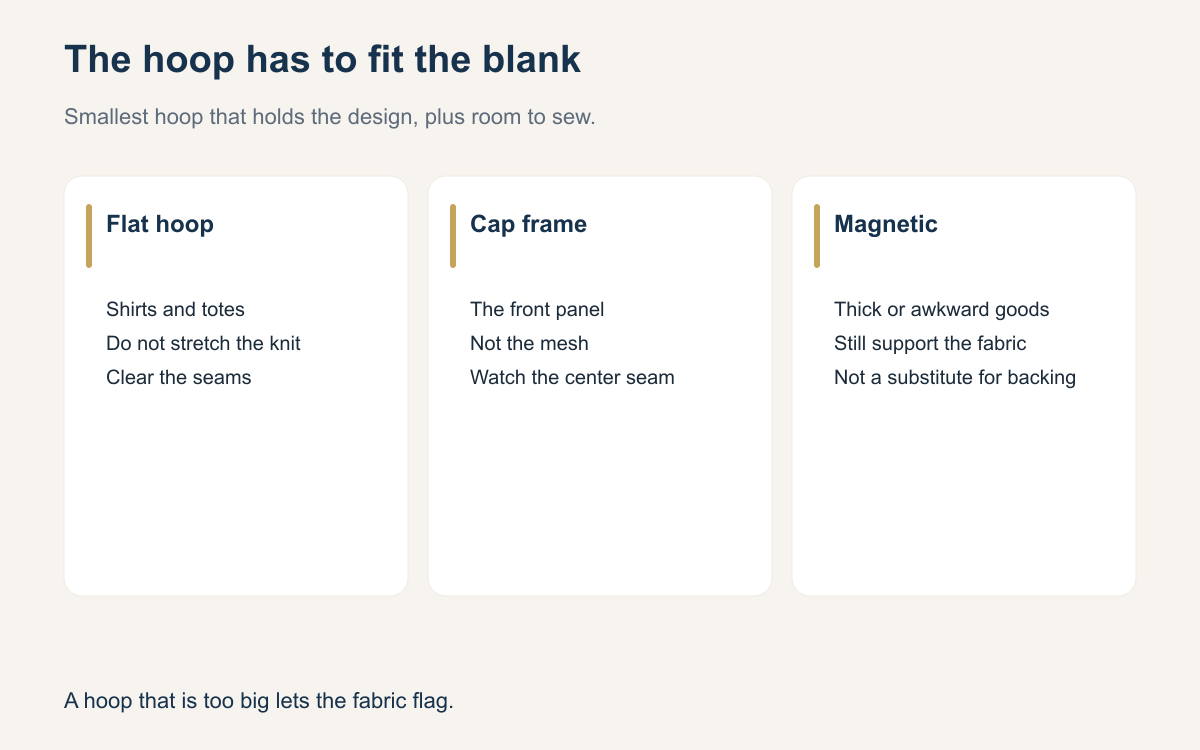
Hooping is the part of embroidery that does not show up in the stitch file and decides whether the file was worth sewing. A good design in a bad hoop puckers, flags, or lands on a seam. Shops collect hoops and then use the same two out of habit. The habit is fine until the blank changes. A polo, a tote, a cap, and a jacket are not one framing problem.
Pick the hoop from the garment, then check it against the design. You want the design inside the sew field with room around it, the fabric smooth but not stretched, and the seams, zippers, and pockets outside the ring. If you cannot get all three, the design is too big for that placement, or you need a different frame. Forcing it with a larger hoop and a handful of pins is how the sew-out drifts.
Use the smallest hoop that actually fits
A hoop that is much larger than the design lets the fabric flag. The needle pushes the goods down, the goods bounce, and you get poor registration and thread breaks. A hoop that is too small makes you sew into the ring or float the design off the stable area. Start with the design size, add the clearance your machine needs so the foot does not hit the hoop, and pick the hoop that matches that rectangle. “The big one, so I have room” is the wrong default on a knit.
Clearance is not optional on a cap or near a seam. The sew field of a hoop is smaller than the plastic ring. If the design kisses the edge of the field, you will hit the hoop or sew a partial shape. Measure the design in the software, including underlay, and compare it to the sew field you trust on that hoop. If it does not fit, reduce the design or split the job. Do not rotate it at a wild angle just to squeeze it in unless the stitch direction still makes sense.
Flat goods, caps, and thick items are different frames
Shirts, totes, and similar flat goods want a conventional hoop. Hoop the fabric with the stabilizer, smooth, with the grain straight. Do not pull a knit tight to make it look flat in the ring. The tight version looks neat until you unhoop it, and then the logo sits in a puckered circle. If the shirt will not sit smooth without stretching, you need better backing or a smaller design, not stronger hands.
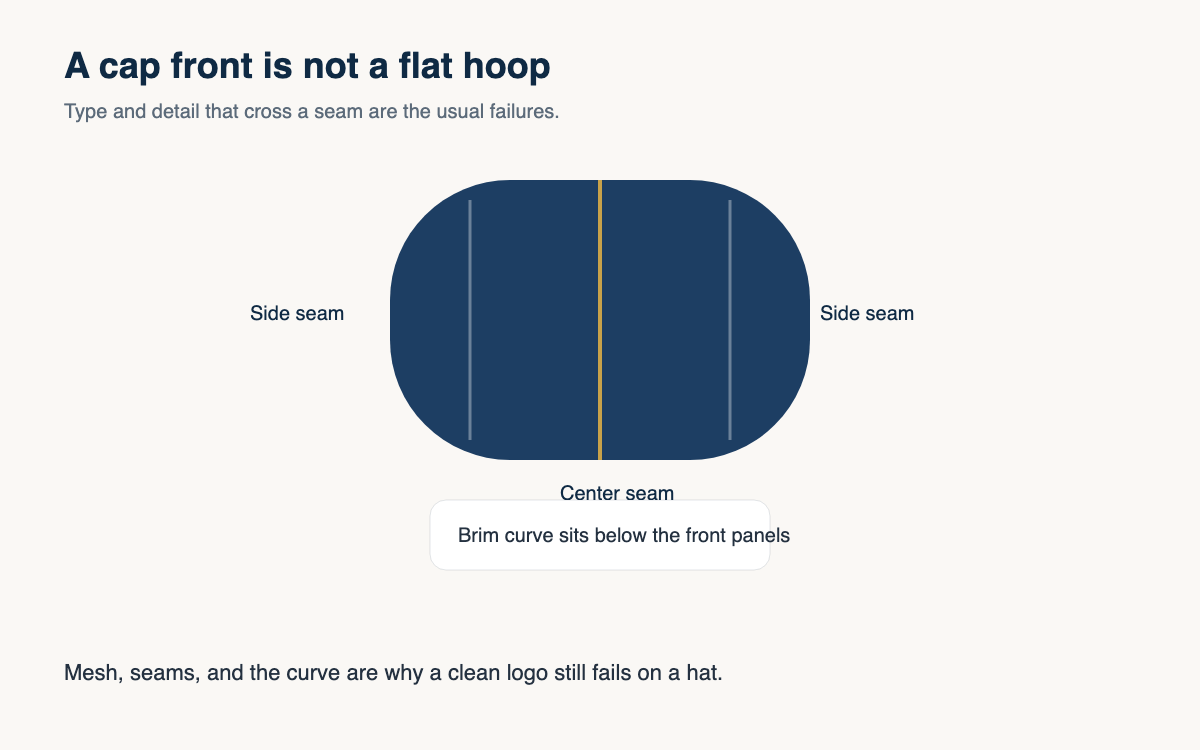
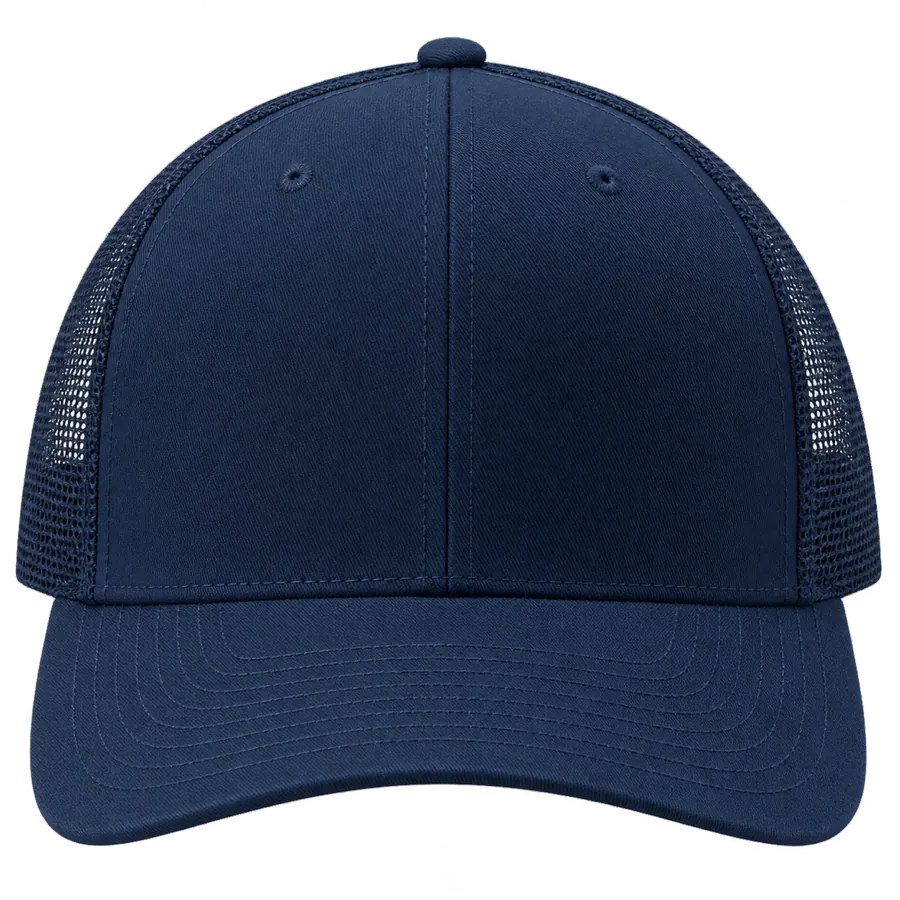
Caps want a cap frame, and only the front panel belongs in it for a normal front logo. Mesh sides will not hold satin, and the curve of the brim is not a flat sew field. Jacket backs and bags may fit a large flat hoop if the seams stay outside. Thick or slick goods, and some jackets that are miserable in a screw hoop, are why shops buy magnetic frames. A magnet does not replace stabilizer. It only changes how you clamp. If the fabric can still shift inside the hoop, the magnet has not saved you.
What has to stay outside the ring
Seams, zippers, buttons, and pockets inside the hoop change the thickness and throw the design off. A chest logo that crosses a placket will look crooked even when your hooping was careful. A design that runs onto a hoodie’s pocket will stitch the pocket shut or sit on a lump. Move the design, or choose a placement that was never going to clear those parts, and tell the customer before you sew. “It fit in the hoop” is not the same as “it fits the garment.”
Watch the back of the hoop too. Extra stabilizer bunched against the bed, a sleeve trapped under the ring, or a hoop that cannot sit flat because of a collar will cause flagging you will blame on the file. Take ten seconds to look under the hoop before you press start. The shops that ruin fewer garments are not faster at sewing. They are slower at this moment.
Write the hoop down with the file
The second time you sew a design, you should not have to experiment. Note the hoop, the backing, and any float or magnet you used. “4-inch round, cutaway, hooped on grain” is a production note. “I think we used the blue hoop” is how the reorder looks different from the sample the customer approved. If a design only sews cleanly in one hoop, that limit belongs on the order, not in your memory.
Buy hoops when a blank you actually sell does not fit the ones you have. A drawer of unused sizes does not make you faster. One cap frame you trust, a few flat hoops that match your real design sizes, and a plan for thick goods will cover more orders than a wall of rings you never hoop. When a job needs a frame you do not own, say so in the quote. Renting, borrowing, or declining is cheaper than sewing it badly in the wrong ring.
- Pick the smallest hoop that holds the design plus machine clearance.
- Do not stretch knits to make them look flat.
- Use a cap frame for cap fronts, and keep the design off the mesh.
- Keep seams, pockets, and zippers outside the ring.
- Look under the hoop before you start.
- Record the hoop and backing with the file so the reorder matches.
The hoop is a tool you match to the blank, the same way you match backing to the fabric. Too big, and the goods flag. Too tight, and the knit puckers. Wrong frame, and you are sewing a cap like a shirt. None of that shows up as a setting in the design file.
Before the next new blank goes on the machine, name the hoop out loud and check the seams. If you hesitate, sew a scrap in that hoop first. The scrap is the cheap version of the mistake.
A question for the group
Which hoop do you reach for without thinking, and which blank finally convinced you that habit was wrong?